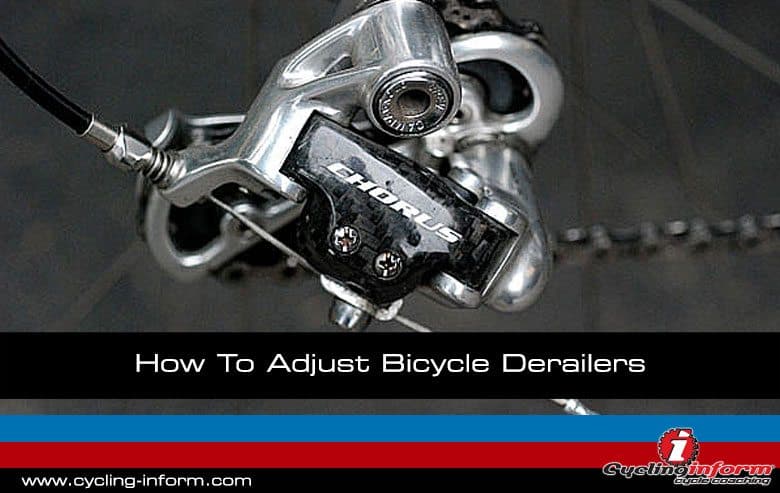
Nothing worse than having your gears not set up and adjusted correctly. This article shows you how to adjust mechanical bicycle derailers so that you can do it yourself.
There are three types of bicycle derailer systems around. The first is a friction based system that was phased out in the 1990’s. This uses a friction leaver mounted usually on the down tube to providing the shifting via a cable system. The second is the index system that is the most common today that uses a ratcheted clicking leaver to click change from gear to gear, again using a cable system. Finally the electronic system which uses the same method as the index system but instead of a cable uses electric motors to move the derailer.
They all fundamentally operate the same so use a very similar technique to adjust them and can be done in most cases with a phillips or cross head screw driver.
The tolerances for indexed gears as they progressed from 8, 9, 10 and finally eleven speed have became tighter, so fine tuning of these gears has become ever more increasingly important to ensure that they run smoothly.
When adjusting the front and rear derailer the first thing to set up is the limit screws. These screws stop the derailer moving too far (left to right) and derailing the chain right off the sprockets all together. In the case of the front derailer, dropping the chain off the big or small chainring and either in between the frame and the sprockets. For the rear derailer the limit screws stop the derailer from moving too far and stops it from hitting the spokes or dropping the chain into the gap between the frame. If your derailer goes into the spokes at speed then you can do a real mess to your wheel, derailer and possibly yourself if you end up falling off your bike as a result. Fig. 1 and 2 show the end screws on the Campagnolo and the Shimano derailers.
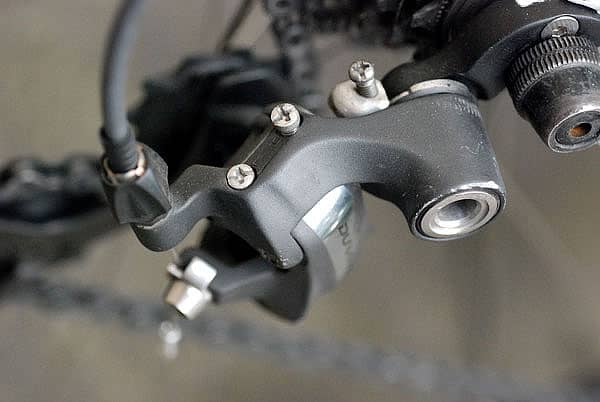
Fig 1. End stop screws on a Shimano derailleur (top “H” is used for the little sprocket end stop adjustment while the “L” is used for the largest sprocket end stop adjustment. The screw that the cable runs through is called the cable tension adjustment screw)
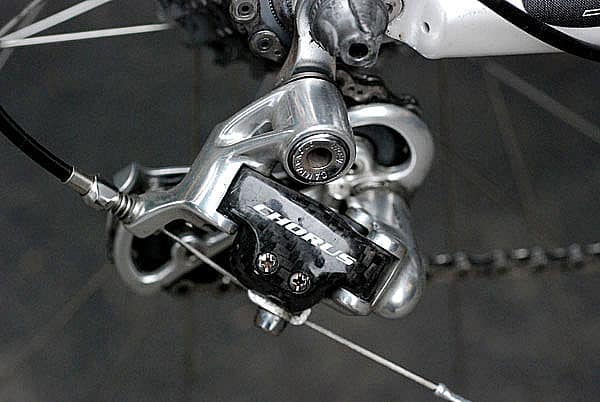
Fig 2. End stop screws on a Campagnolo derailleur (The left screw is used for the largest sprocket end stop adjustment while the right screw is used for the smallest sprocket end stop adjustment. The screw that the cable runs through is called the cable tension adjustment screw). First you’ll need to adjust the stops on the rear derailleur. Set the bike up on the biggest sprocket and ensure that the derailleur runs parallel and lines up perfectly with the largest sprocket (see fig. 3 and 4). Set the end stop screw to ensure the rear derailleur does not travel further than this alignment.
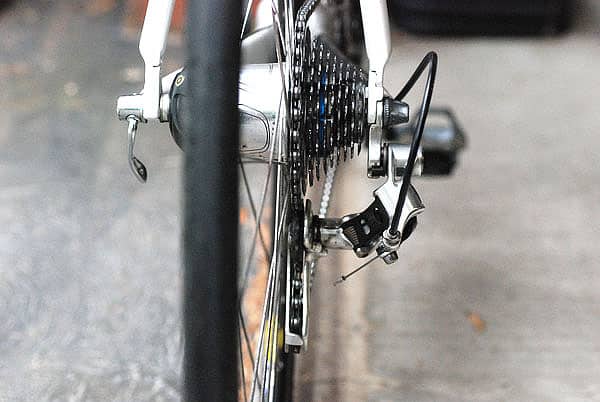
Fig 3. Line up the derailleur with large sprocket.
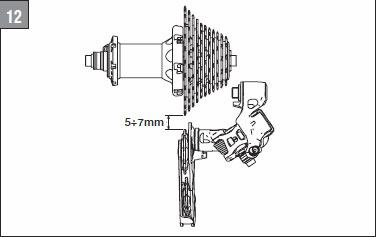
Fig 4. Image from Campagnolo’s website showing the alignment to the large sprocket. Then move the derailleur to the smallest sprocket and ensure that it’s in alignment with it.
 Fig 5. Line up the derailleur with the small sprocket.
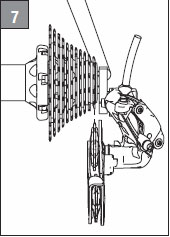 Fig 6. Image from Campagnolo’s website showing the alignment to the small sprocket. The next step is to use the cable tension adjustment screw to set the tension to ensure that the gears are indexed correctly. The easiest way to do this is move the derailleur onto a sprocket around mid way up the cassette and tighten or loosen the cable tension adjustment screw so that the pullies of the derailleur line up with one of the centre sprocket.
Fig 7. alignment of the indexing using one of the centre sprockets as a reference. That’s it for the rear derailleur. Now for the front. Same process in setting up the end stops on the rear derailleur. The front derailleur has two end stops as well, usually located on the top of the derailleur. See Fig 8.
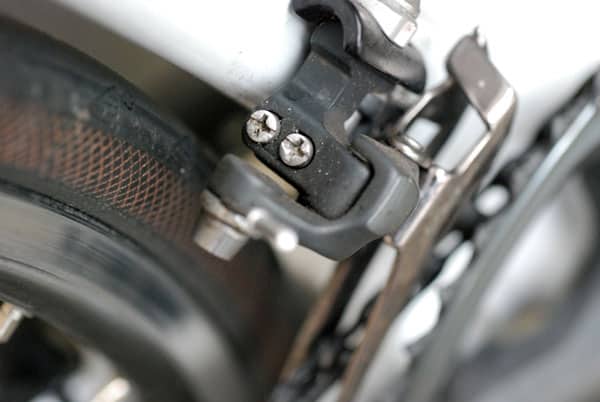
Fig 8. The end stops on a front derailleur. First, put your bike chain in the little chain ring and the big sprocket at the rear like Fig 9.
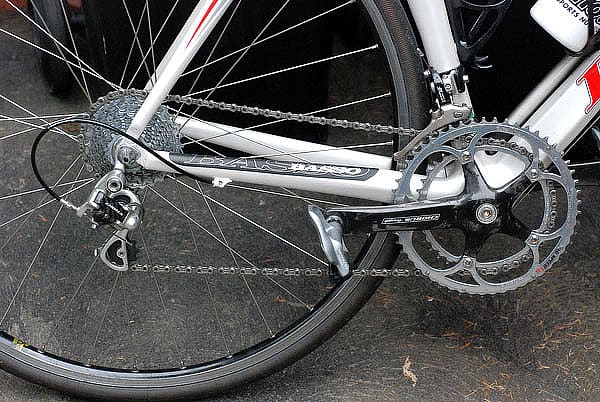
Fig 9. The first step in adjusting your front derailleur is to put your bike in the little chain ring at the front and the big sprocket at the rear. Then adjust the end stop so that the chain just clears the inside plate of the front derailleur’s cage. See Fig 10. 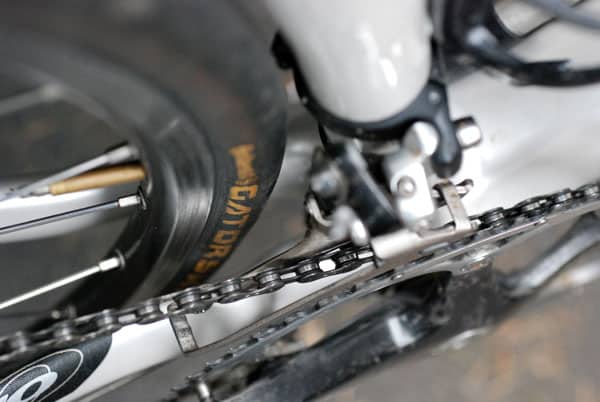
Fig 10. Use the end stop to adjust the clearance against the cage of the derailleur’s cage. Then put your bike in the following configuration as shown in Fig 11. Chain on big chainring and little sprocket.
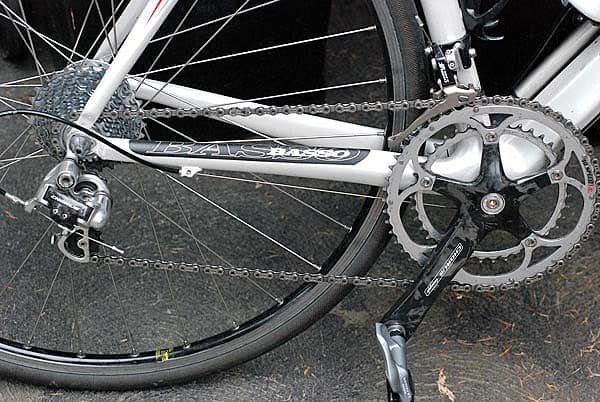
Fig 11. Next change configuration. Big front and little rear. Once that’s done you’ll need to adjust the end stop to ensure that the chain just clears the clears the outer plate of the front derailleur cage. See Fig. 12
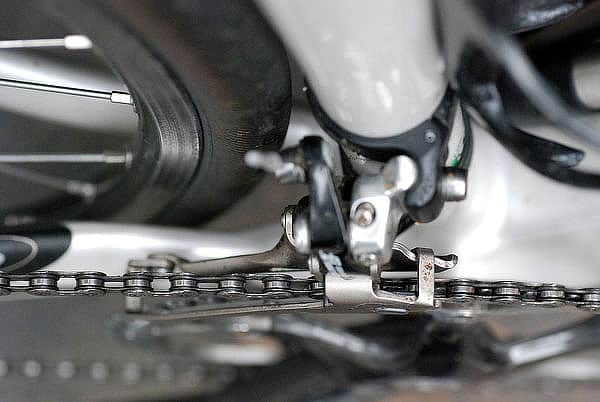
Fig 12. Adjust the front derailleur’s other end stop to ensure that the chain just clears the outer plate of the front derailleur cage.
Once this is all done your gears are tuned and you should not need to touch them for several months.
They all fundamentally operate the same so use a very similar technique to adjust them and can be done in most cases with a philips or cross head screw driver.
When indexed gears hit the market as with the advent of ten and eleven speed systems the tolerances have became tighter and so fine tuning of these systems has become ever more increasingly important to ensure that your gears run smoothly.
When adjusting the front and rear derailleur the first thing to set up is the limit screws. These screws stop the derailleur moving too far and derailing the chain right off the sprockets all together. In the case of the front derailleur, dropping the chain off the big or small chainring and either in between the frame and cases or worst still into the spokes on your wheel with the rear changer. If your derailleur goes into the spokes at speed then you can do a real mess to your wheel, derailleur and possibly yourself if you end up falling off your bikes as a result.
First youll need to adjust the stops on the rear derailleur. Set the bike up on the biggest sprocket and ensure that the derailleur runs parallel and lines up perfectly with the largest sprocket.


Leave A Comment