In this article Steve Hogg provides his personal opinion on the specific positioning and equipment requirements to help you with your time trial solo efforts. He discusses topics relevant to both the occasional time trialist and those who specialise to some extent in the discipline. In the positioning section he covers the set up of time trial bars and seat position. While in his equipment section he talks about some simple things you can do to get aero without costing you a heap of cash.
I will break this into two categories of rider; those who compete in the occasional time trial by mounting aero bars on their road bike, and those who specialise to some extent in the discipline.
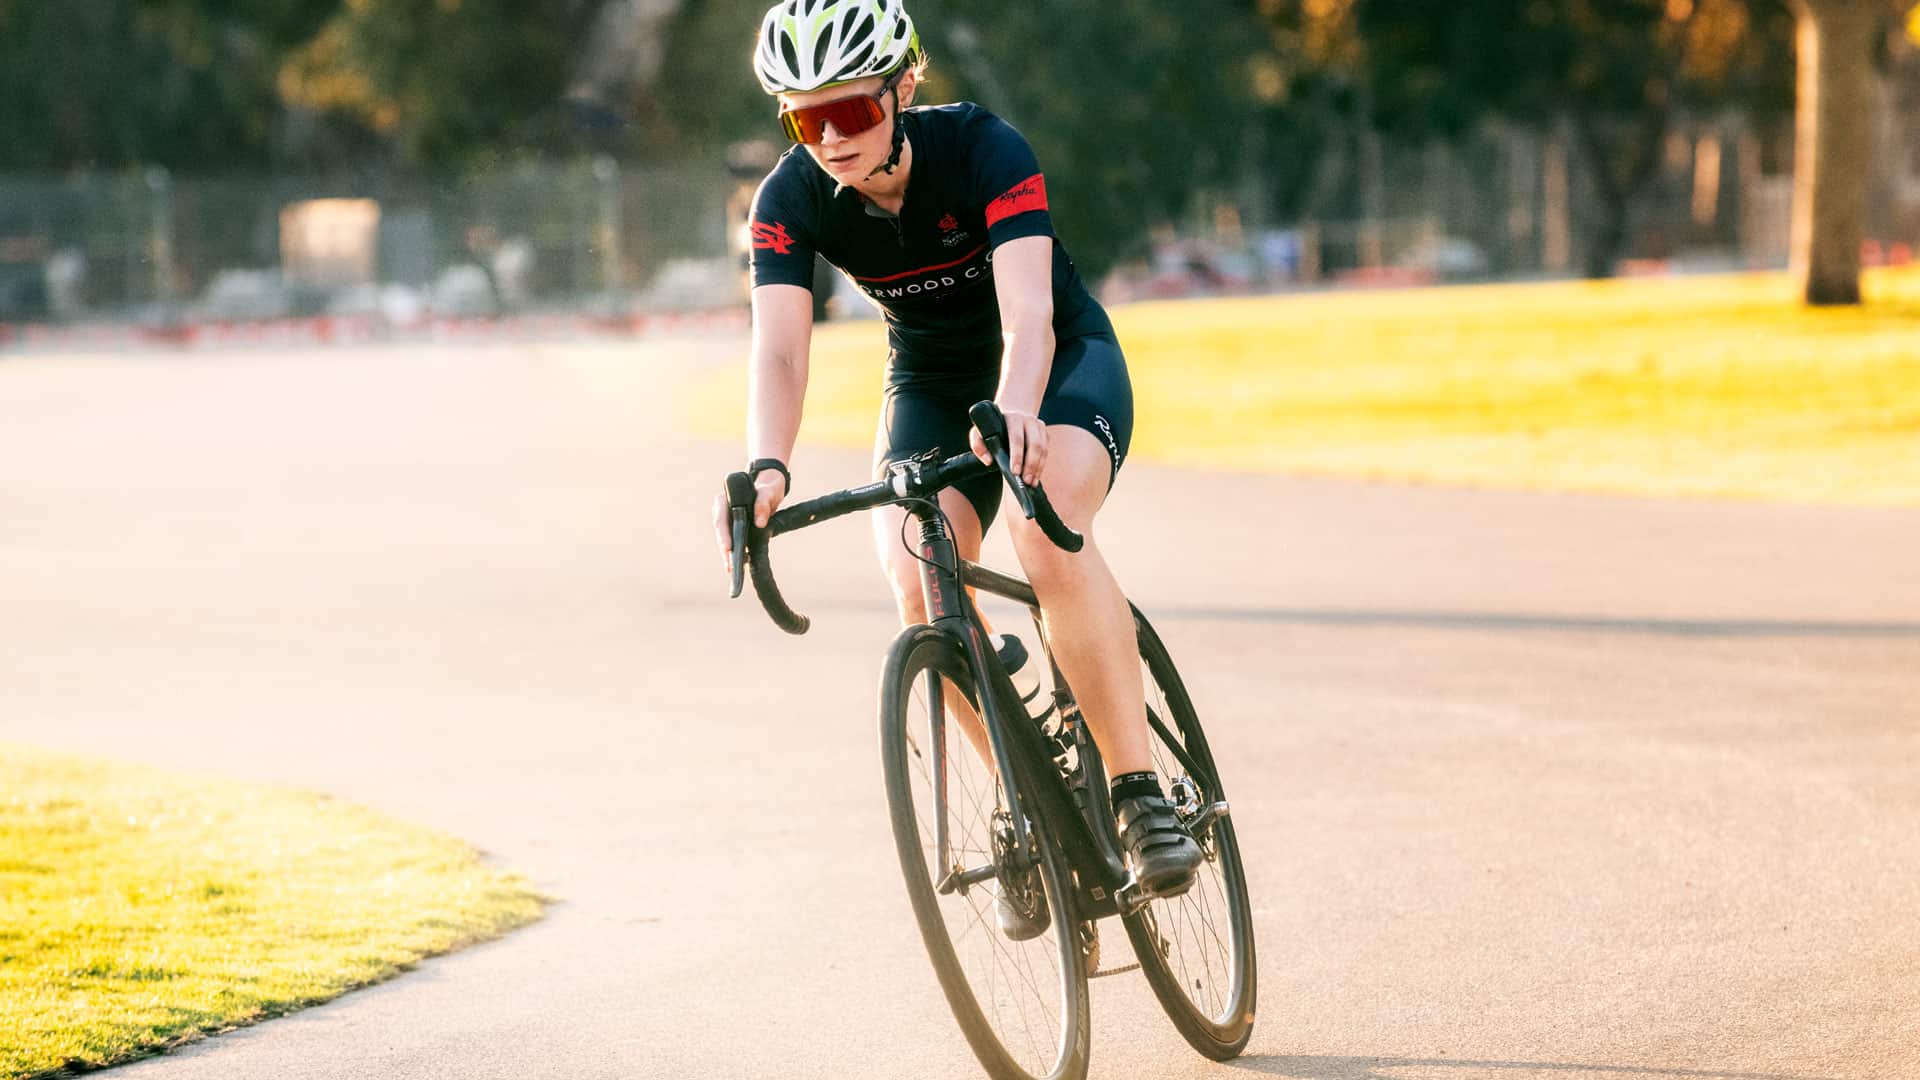
Let us assume that both categories of rider have a good position on their road bike; stable on the seat, a relaxed upper body, a solid feel on the pedals and can ride hard for extended periods with hands in the drops. Everything further in this article is contingent upon that. If the above is the case, the rider who races occasional time trials, should have an unchanged position to their normal road bike.
If someone has spent a large amount of time accustoming their body to a particular position and performs well in that position, it makes no sense to change that position for the occasional TT. Under the high load, high heart rate conditions that occur in time trials, a rider will fall into the patterns of motion that they are used to and so it makes sense to maintain those familiar patterns of motion. For the TT specialists, the picture is somewhat different and I will get to that later.
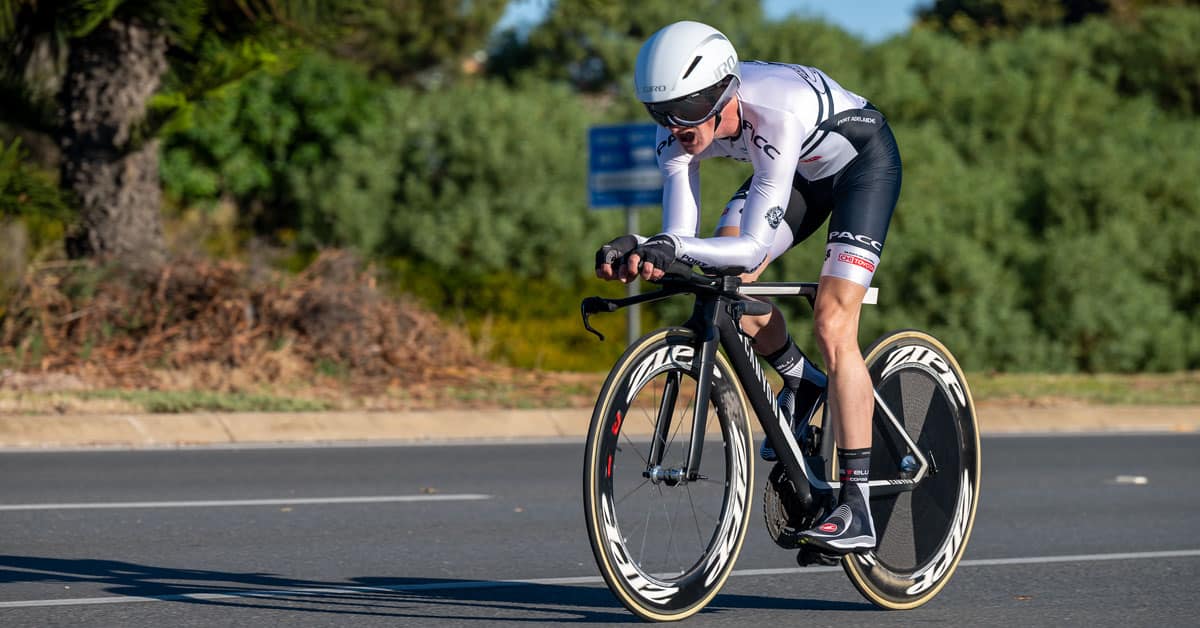
Once aero bars are fitted, they should allow you to mimic the upper body position that you would assume when riding with hands in the drop bars of your road bike. You should feel when moving from the drop bars to the aero bars that nothing changes in terms of back and head position. A large mirror positioned to allow you to see your self while riding on an indoor trainer is a big help in setting up your aero bars. If you do not have that option available to you, it is a benefit to have an observer to verify that your upper body position is unchanged when moving from drop bars to aero bars. You should not have to crawl forward on the seat or arch the back more than is the case on your road bike if the aero bars are well placed. To do so will usually lessen breathing efficiency. Some will find that they can extend their back slightly further as the aero cups offer better support than road bars.
Forearm position should be such that the elbows are within the line of the hips as viewed from the front providing that is consistent with comfort. The aero bar cups should be behind the road bar and closer to the elbows than the wrist. Typically the forearms should run down slightly from elbow to wrist. If the forearms run up from elbow to wrist, pressure in the upper back and neck is often the result. Sometimes this can occur with level forearms as well. If you do this then there are no problems using the aero bars as pedaling mechanics are unchanged and the only adaptation required is getting used to slightly different steering characteristics.
Unfortunately few aero bars will allow what I have just suggested when used in conjunction with road bars because they lack adjustment potential. To achieve what I have described requires aero bars that have independent adjustment for extension length, extension angle, cup position, cup height, cup width and cup angle. The only aero bars that I have come across that allow what I have described are the Profile Carbon Strykes. Nearly as good are the Profile Air Strykes that differ from the Carbon Strykes in having a once piece aero extension and spring loaded cups that swing up when weight is removed. If riding courses with a reasonable amount of seated climbing, this can be a handy feature.
There are plenty of other aero bars out there that may allow an unchanged body position for a given rider, but it can be a hit or miss thing as none have the range of potential adjustment of the two Profile models. With those two Profile aero bars set up well, most people will find that the forward part of the aero extensions will end up somewhere between slightly in front of the STI or Ergolevers to occasionally slightly behind the front edge of them.
Now for the rider who decides to specialize to some degree in road time trials. This usually means that this rider has either a bike specifically for this or is prepared to spend time training in a slightly different position to maximise their TT performance. If this rider is reasonably flexible in hamstrings, hips and sacro – iliac joints, I would suggest changes other than those listed previously.
The seat should go forward slightly, typically between 8 12 mm. As the seat goes forward it gets 1 mm closer to the pedals for every 3mm that it moves forward and so care should be taken to maintain the same overall seat height.
Moving the seat forward slightly will allow you to get your pelvis more horizontal. As this happens, the hips move slightly backwards which means that overall pedaling mechanics, though changed from that of a road bike, are not changed a lot. The more horizontal pelvis allows the rider to reach further down and out to the aero bar which in turn allows greater extension of the back and a flatter more aerodynamic back position.
All of this has to be considered against the background of how functional the rider is, what the TT distance is and what sort of terrain it is over. In essence, the shorter the event and the less challenging the course profile, the greater emphasis that can be placed on aerodynamics for any given rider. Push less air and you will ride faster unless the price of that aero position is compromised leverage, control of movement or breathing ability.
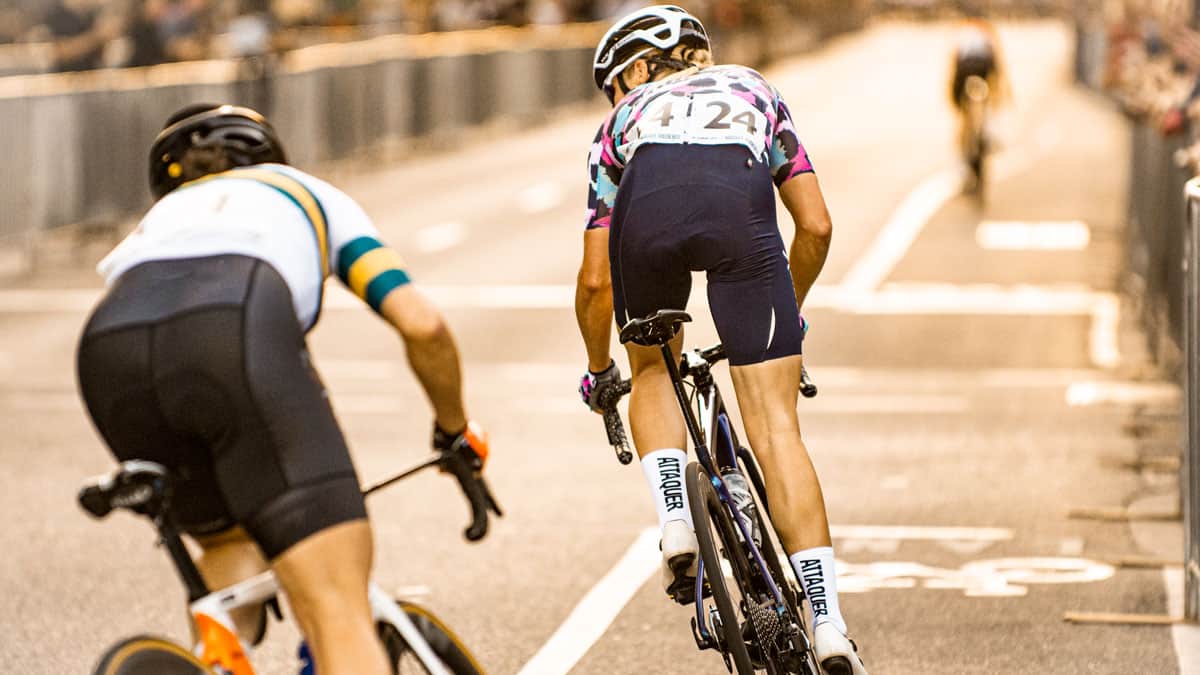
You need 4 things to go fast on a bike; leverage, good control of movement, the ability to breathe to greatest capacity AND an aerodynamic position. Consider the first three mandatory and the fourth optional. You will go faster with attention to the aerodynamics of your TT position, but if you compromise on the any of the first 3 you may well ride slower but look good in the process. Two obvious examples of riders who excelled at time trials but for whatever reason could not maintain a low, flat back are Miguel Indurain and Lance Armstrong. They did not look as aero as some of their competitors, they just rode faster times. There is any number of examples of riders who were also very fast and able to maintain a low aero position.
The message here is to be objective about your ability to achieve a low, flat back position comfortably for the length of time necessary to complete the event you are training for. If you struggle to maintain a position for the period of time that you need to, you will more than likely perform better if you set yourself a position slightly kinder to your body.
For those looking to buy any of the all in one aero bar/ bull horn bar combinations, make sure that you try before you buy. Many of them are heavier than a separate bull horn and aero bar and offer a lesser range of adjustment. If you choose to go this route, dont buy the types with an integral stem as this negates any possibility of changing the angle of the bars relative to horizontal.
With bull horns and aero bars, you will need a much shorter stem than the same body position would require with road bars. If the course profile is flat to undulating, the bull horns need be as low as comfortably possible for leverage off the line at the start and after turnarounds. If the course profile is hillier, or you are competing in long course or ironman racing, consideration may need to be given to having bullhorns at a height consistent with strong seated climbing.
One advantage with bull horns is that the shorter stem required moves the aero bar cups further towards the riders elbows and often offers better support for the upper body because of this.
Trouble shooting: here are some common problems experienced by riders who spend a reasonable amount of time on their aero bars and the general solutions.
- Tight hamstrings just underneath the glutes post event typically means that the seat is slightly too high. The sustained big gear efforts of TTs mean that many riders force the gear more than they normally would. Doing so causes many to drop their heels and extend the leg more than usual when pedaling. Dropping the seat 3 5mm will usually cure the problem.
- Sore elbows usually mean that either the aero cup is not close enough to the elbow or that the front of the aero bars where the hands grip is too high relative to the cups. The solution is to heed the advice of making sure that the forearms travel down slightly from elbow to wrist if that is the issue, or to move the cup further towards the elbow if that is the problem.
- Sore neck during or after events usually means that the bars are too low causing too much extension of the neck to see forward.
- Sore upper back often means that too much weight is being supported on the arms or that the bars are too low. In some cases this overuse of the the shoulder complex and upper back can result in a restricted range of neck movement and tightness or pain there as well.
- Sore lower or mid back is typically caused by an aero position that is too stretched out. The solution is too shorten up the reach to the aero bars.
- Cramping of the abdominal muscles can be caused by riders who arch their backs to allow room between their upper thighs and rib cage. The solution is to either raise the aero bar cups or occasionally to lower the front of the aero bars which will have the effect of raising the cups. If after experimentation you choose to do this, the angle of the cups will change. With the Carbon Strykes, the two screws per side that attach them to road bars can also be used to manipulate the relationship to horizontal of the cups by either tightening the front screws and loosening the rear screws or vice versa, depending on what angle is sought.
Aerodynamics is one of the most powerful marketing tools in the bike industry. There is often a message to the effect that speed can be purchased by having the right wheels or aero bars or helmet or whatever. To some extent this is true but equipment will not make up for lack of training and application.
Reducing frontal area and smoothing the flow of air over the rider is important and anyone who is half serious should use aero bars and a tightly fitting skin suit. A reasonable substitute for a skin suit is a snug fitting jersey tucked firmly into knicks.
Probably the next most important thing is aero wheels. You could be excused for thinking that every manufacturers aero wheel is more aerodynamic than every others manufacturers aero wheel when you read all the adverts but as a rule of thumb, choose wheels that have a depth to width ratio of 3 to 1 or greater. This includes the tyre, meaning that if using a 20mm tyre, try and use a rim of 40 mm or more depth. The 40mm deep rim and 20mm diameter tyre give a total height of 60mm which is 3 times the width of the tyre itself. Less spokes of aero section is good and a rear disc is ideal if the budget will stretch. If you compete on a windy course, sometimes it can be faster to sacrifice a bit of rim depth on the front to be buffeted less by side winds and hence spend more time driving the bike hard and less time just trying to stay upright on it.
There is no point in having fast wheels if using slow, dead tyres and tubes. In clinchers the fastest TT tyre out there at the moment is the 130 gram Veloflex Record. These dont like glass strewn roads but cope with coarse blue metal road surfaces well. An honourable mention also goes to the Continental Supersonic in 18 or 20mm width.
Once you have these things, you can pay attention to the smaller things like TT shoe covers which are like tight fitting non insulated booties. Standards approved aero helmets are available from several manufacturers but come at a price. Some things that you can do at no cost other than a little time, is to make sure that cables are tucked in as much as possible, quick release skewer levers are positioned horizontally rather than upright and that unnecessary bidon cages are removed for the event.
For more information regarding specific training programs for Time Trialling please check out our Coaching Services and Cycle Training Programs by clicking here.

Leave A Comment